When I set out to capture portraits using only one light source, two different things usually come to mind. First, I (most often) will bounce in light against (or aimed at) the initial lighting source. This adds fill lighting on the subject. Technically, only one light is used but it does come from two different directions. This helps to remove any unwanted harsh shadows.
The second thing that comes to mind when using only one light source in portraits is getting a harsh, almost extreme shadow. Here are some examples of both versions of “one light portraits”, and all taken this weekend.
On this occasion I set up the lighting in a very easy to set up, and easy to use manner. I placed two Nikon SB-28 strobe units onto one adjustable lighting stand. I topped them off with an umbrella just to provide a larger lighting surface in order to diffuse the light coming from the two flash units.
Fill lighting was supplied using a simple silver reflector, which bounced the strobes initial light back at the subject. Pocket Wizards were employed, for the first time, and I must write a nice big “thanks for the gear loan Scott, over at Weekly Photo Tips”!
With the two strobes, Pocket Wizards, Quantum Battery pack, and an umbrella all on one stand, I found it was simple to move the “kit” around to any spot that I wanted, and it was just as easy to “aim the strobes and then shoot”.
The set was also done in a simple way. I placed a sheet of black muslin onto a backdrop stand, and then placed a desk under (and in front of) the muslin and the stand. I draped the muslin over the top of the desk to make for a large black background. A pillow and a blanket were hidden under the muslin, on top of the desk, for the child’s safety.
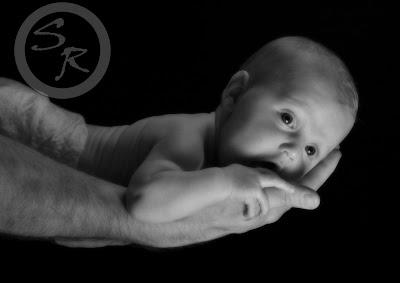
In the above image the light stand was placed low, and just in front of, the desk. Next, I placed the silver reflector above the desk, just above where the hands were going to be. The reflector was aimed back at the strobes in a way that light would be reflected back into the place where the hands were going to be. I asked Mom and Dad to each provide a finger for the child to grip onto and the baby just did what she thought was natural. Perfect!
I placed a black out card/reflector between the back of the strobe stand and the camera, just to make sure that there wasn’t any unwanted light entering the lens.
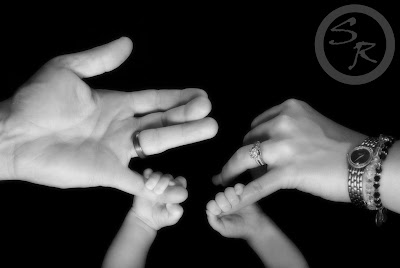
This image was done in the exact same set, using the same lighting and reflector. I love how the baby is gripping the hand of the father. She is so cute.
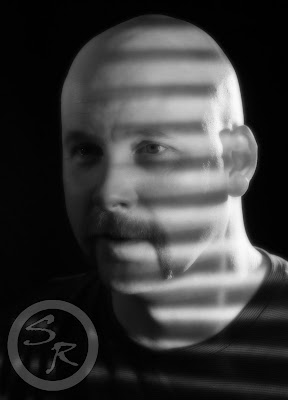
Here is what I meant by a harsh, contrast rich shadow with a half lit face. This was accomplished by placing a set of blinds between the strobe (bare flash with a snoot) and the subject. I also used a second light just to add some light to the right side of his head. So, two light sources and a reflector was used for this image, not one. I took this image just for this blog post, but it seems to be growing on me.
Well, thanks for stopping by. Feel free to subscribe to “All Things About Photography” by simply typing your email into the box! That is just to insure that you never miss a post. Comments are also always welcome!
No comments:
Post a Comment