Recently I purchased a new laptop and decided that it was time to try some new Alien Skin Eye Candy 6 Plug in
First of all, Alien Skin makes rather easy to use (and very awesome) products for image editing software. These product packages are actually software plug inns that are a snap to install. They hide in your photo editing software (Photoshop, Paint shop pro, ect.) and you don’t even know that they are there until you need them.
I use Photoshop the most, and in Photoshop they are found under the “filters” tab. Once you select the Alien Skin filter that you wish to apply to an image, a mini browser window will automatically open up. This makes it a snap to adjust the level of filtered effect you wish to apply to your image.
The Alien Skin Eye Candy 6 Plug in
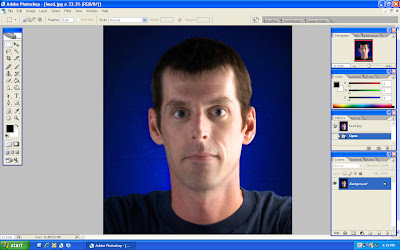
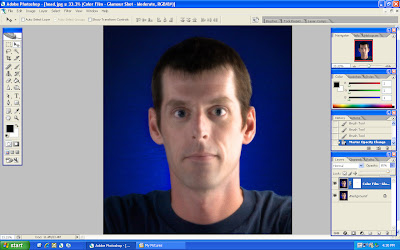
The working image that I will use in this blog entry is one that I took just for this blog. I started with a quick photograph and opened it up with Photoshop. Notice the detail in the hair and face as that is what I want to alter. It should look more like a glamour shot instead of a snap shot. I use these filters after all of my editing is complete. I treat them as the last couple of things to edit in my workflow. So, to re-cap, this image is done as far as any color correction or any other editing.
Alien Skin Eye Candy 6 Plug in
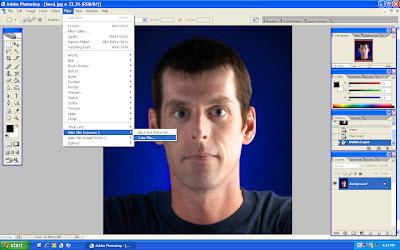
I next looked under “Filters” and then I selected “Exposure 2” and then “color”, which stands for the different color film types. Using Alien Skin filters will automatically place a new layer in the Photoshop image all by itself, so don’t bother to create a new layer first.
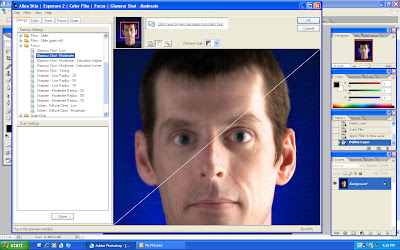
The filter then opens up its own browser window where you can alter the color, tone, focus, and grain amounts, of the chosen Alien Skin filter. You can also zoom in and out of the image in the mini browser, with the effected filter in many different positions of the image. I like the diagonal view the best since I can usually see the “before and after” on the same screen. The next image shows all of this great stuff in better detail.
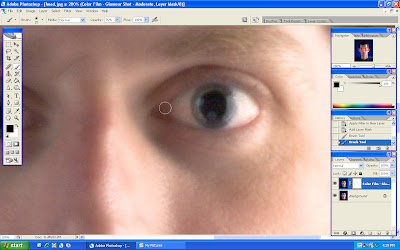
With the filter chosen and applied, it is time to take it away. Why would you want to take it away? Well, in my judgment a portrait should have at least the eyes in focus. This is not a rule per say, but something that I like to have in my images. With that said, I add a layer mask to the new filtered layer. I blow it up large to make it easy to remove the filter (paint tool with black color chosen) from the eyes. I don’t remove it completely, but instead I set the opacity of the paintbrush tool to about 85 percent. Removing it all (100 percent) makes the sharpness of the unfiltered eyes stand out too much in the finished image. With the opacity lowered, I then paint away the filter from the eyes.
Alien Skin Eye Candy 6 Plug in
Next I lower the opacity of the filtered layer to between 75 and 85 percent. This allows a sample of the background (sharp) layer to come through. Most often it depends on the image that you are working on, so make sure you alter the opacity to taste.
All that is left is to save it as a PSD or flatten it and save it as a JPEG. Here are the before and after images.


Alien Skin Eye Candy 6 Plug in
Give the Alien Skin website a look. I love their products because they are fast to apply and easy to use. This whole softening business would have been a pain in the butt to perform without these great filters. Don’t forget that you can change the opacity of the paint tool (in the layer mask) in order to remove different levels of the applied filter from the eyes, nose, face, from that of the rest of the filtered image.
See you next time!
No comments:
Post a Comment